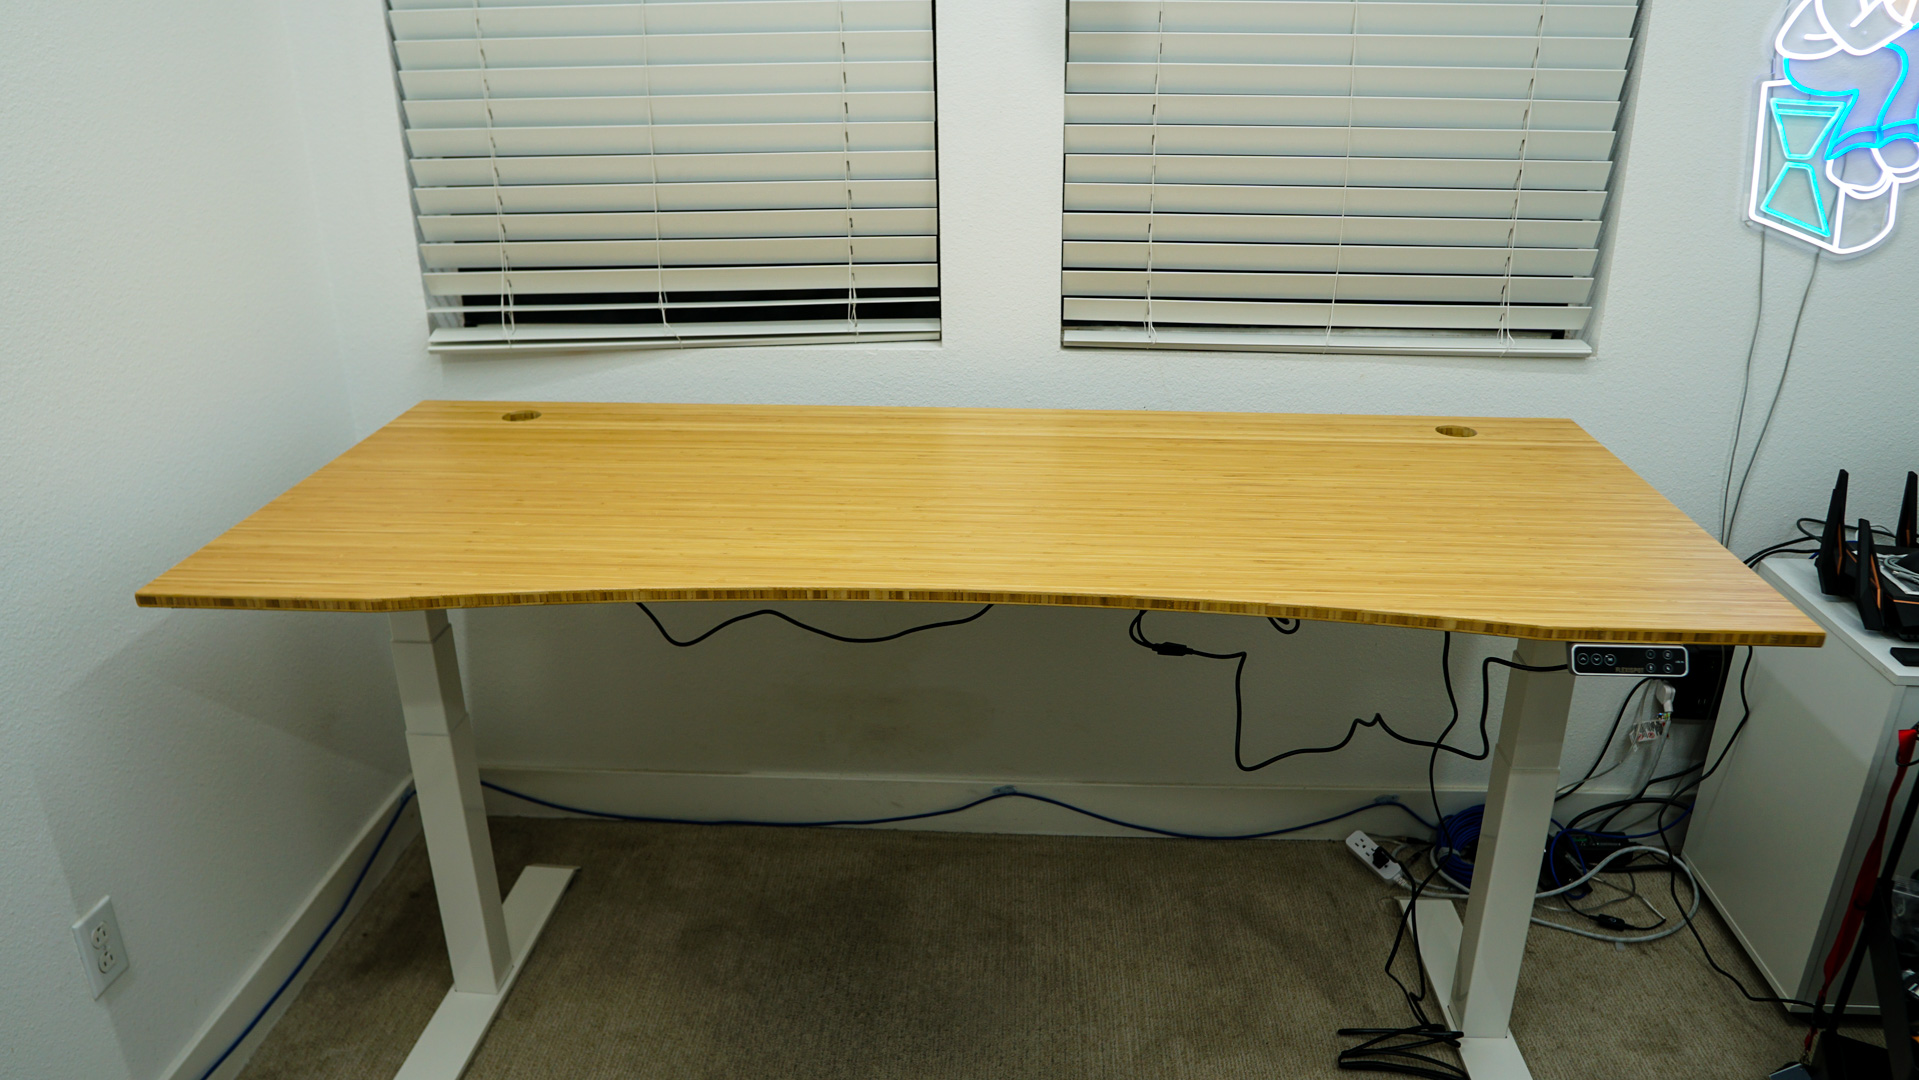
One of the most overlooked things when it comes to your PC setup is the desk. We’ve seen some pretty bad desk examples in our Worst PC Setups series. On top of that standing desks have been getting extremely popular, not only because of their health benefits, but also since many more people are working from home. I’ve actually been using a standing desk for years, but like anything I wanted a change. One of the most well-known brands in the standing desk space is FlexiSpot and today we are going to take a look at the Pro Plus Standing Desk (E7), which I of course customized to fit my needs. The E7 is built with thicker leg columns, can support up to 355lbs, the frame is made with carbon steel, and FlexiSpot backs it with a 15 year warranty. Let’s take a look and see what this desk is all about!
Special thanks to FlexiSpot for providing us with the Pro Plus Standing Desk (E7) to review.
Configuring My Desk
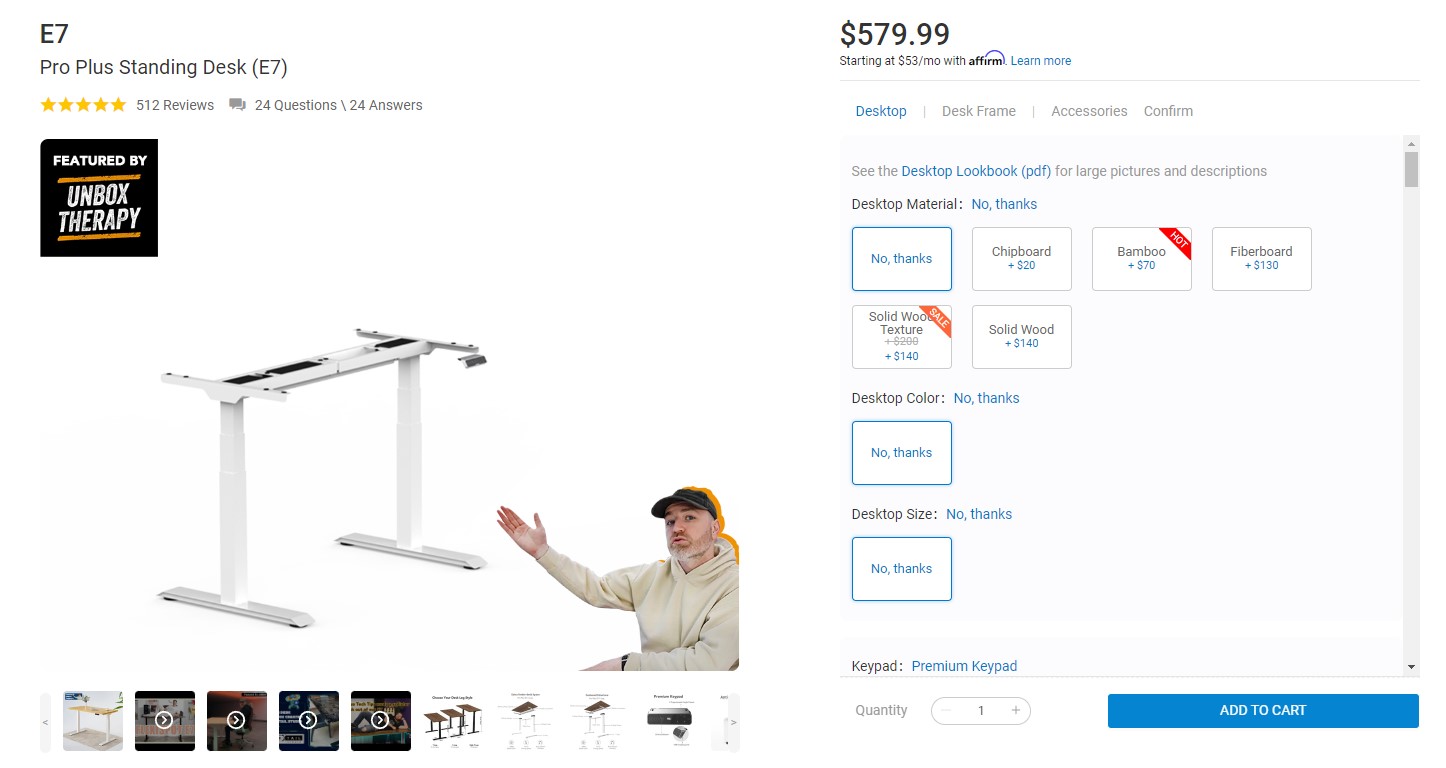
On the FlexiSpot website you can easily configure your desk. You have the ability to select the type and size of your tabletop, the color of the frame, and you have the ability to add things on like monitor arms, under desk drawers, and even wheels for your desk.
I went ahead and went with the bamboo curved tabletop (72″x30″) and a white frame. The total cost of my desk was $849.99.

Delivery & Assembly
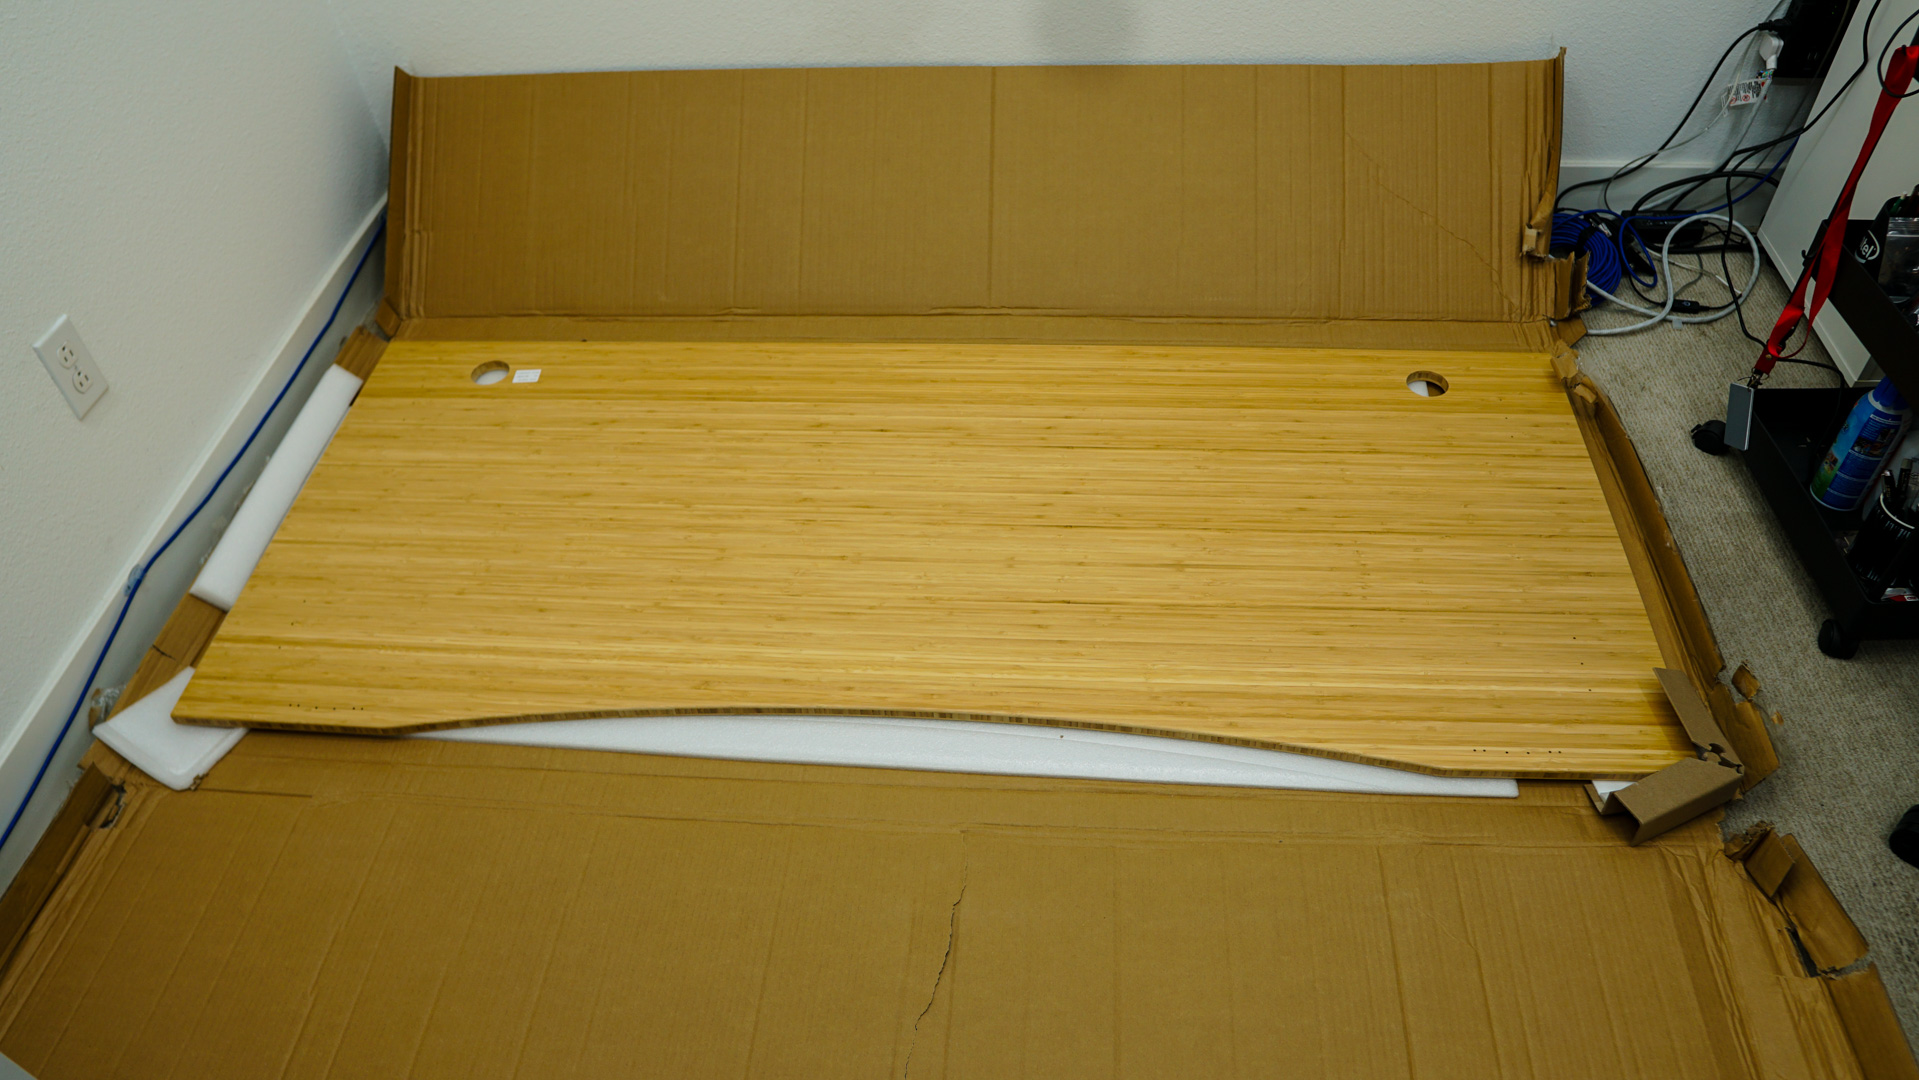
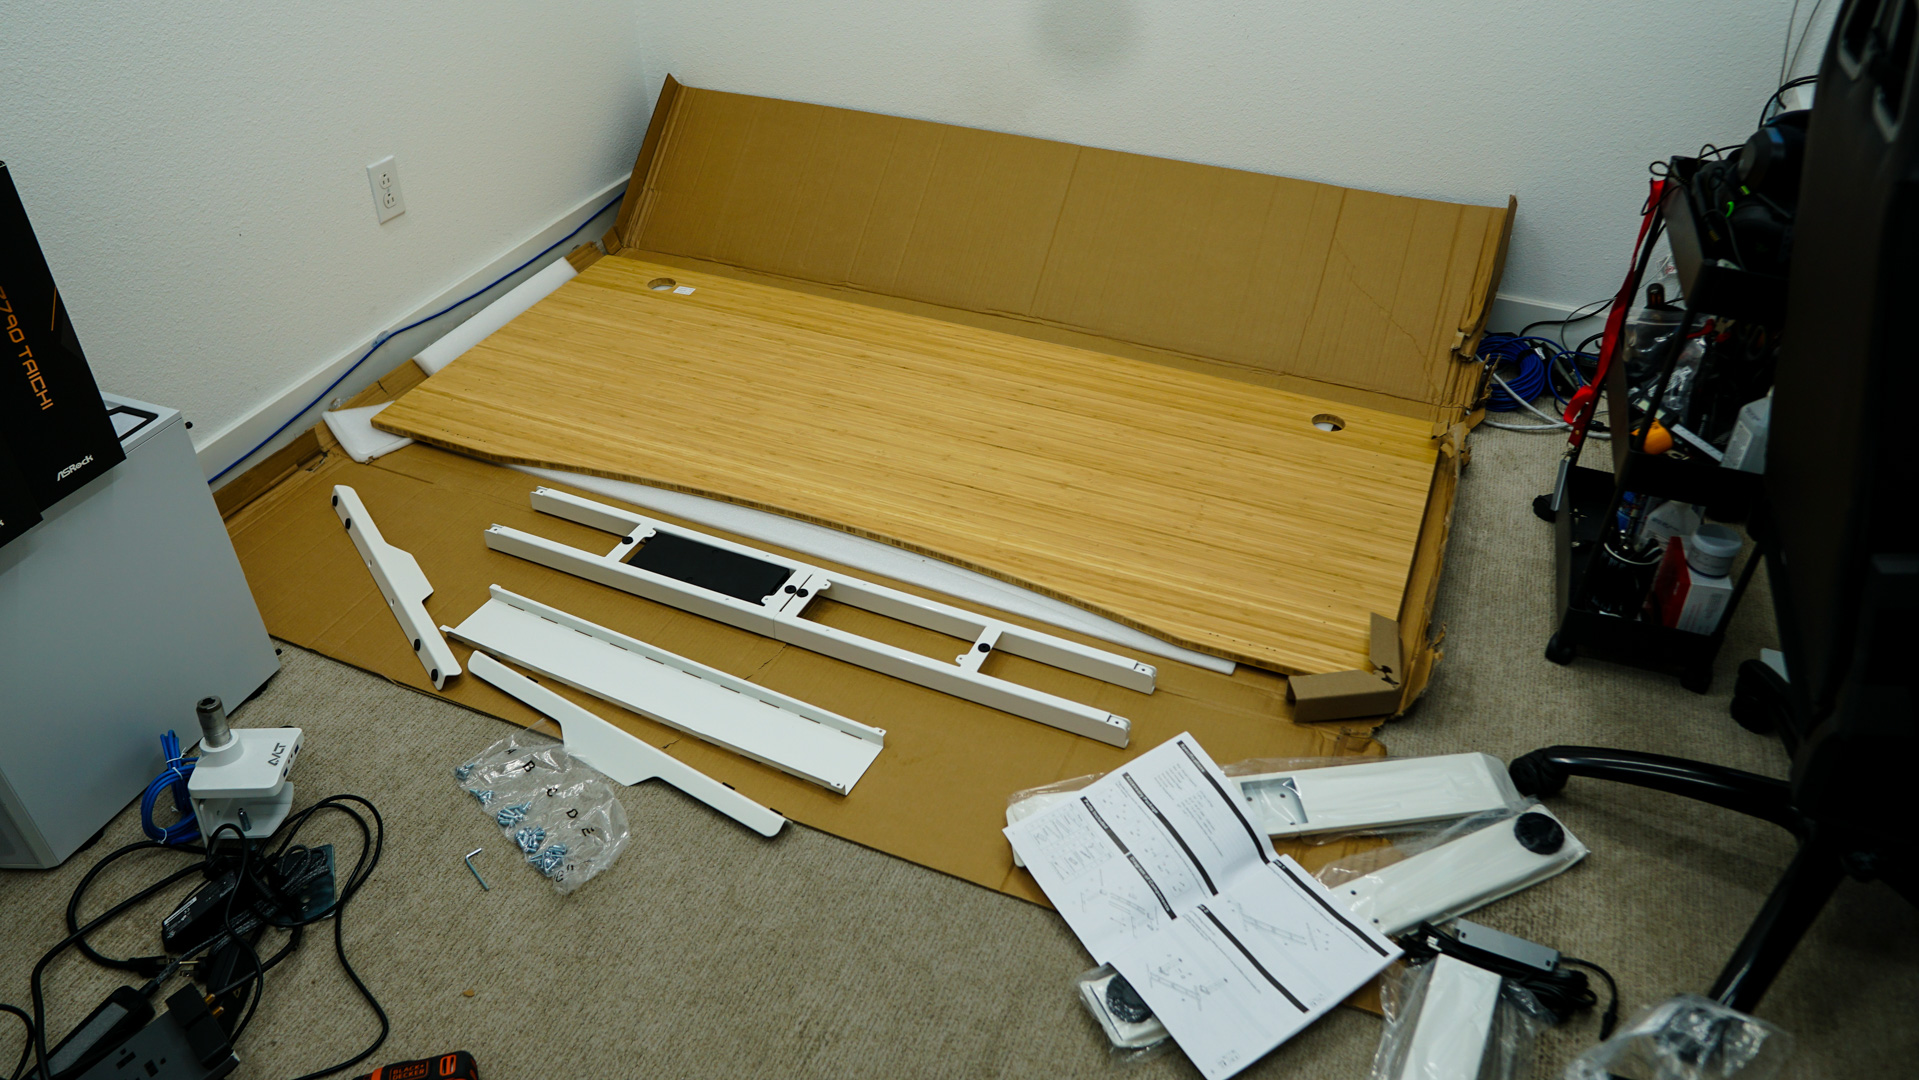
Our desk was delivered pretty quickly and it will come in two boxes. One that has the tabletop in it, and the other that includes the frame, motors, and assembly hardware. Our tabletop arrived without any scratches or marks on it as it was well protected inside the box.

Assembly might seem a bit daunting for some, but it should really only take you about 30 minutes. FlexiSpot does include an allen key for the included hex bolt, but you will need to provide your own screwdriver for the screws. I would suggest using a power drill if you have access to one as it will speed up the process. With your tabletop upside-down you assemble the frame, then stretch it out to fit your tabletop, then finally attach it to the bottom of the tabletop. The included instructions were very easy to follow and we did not run into any issues during our assembly.
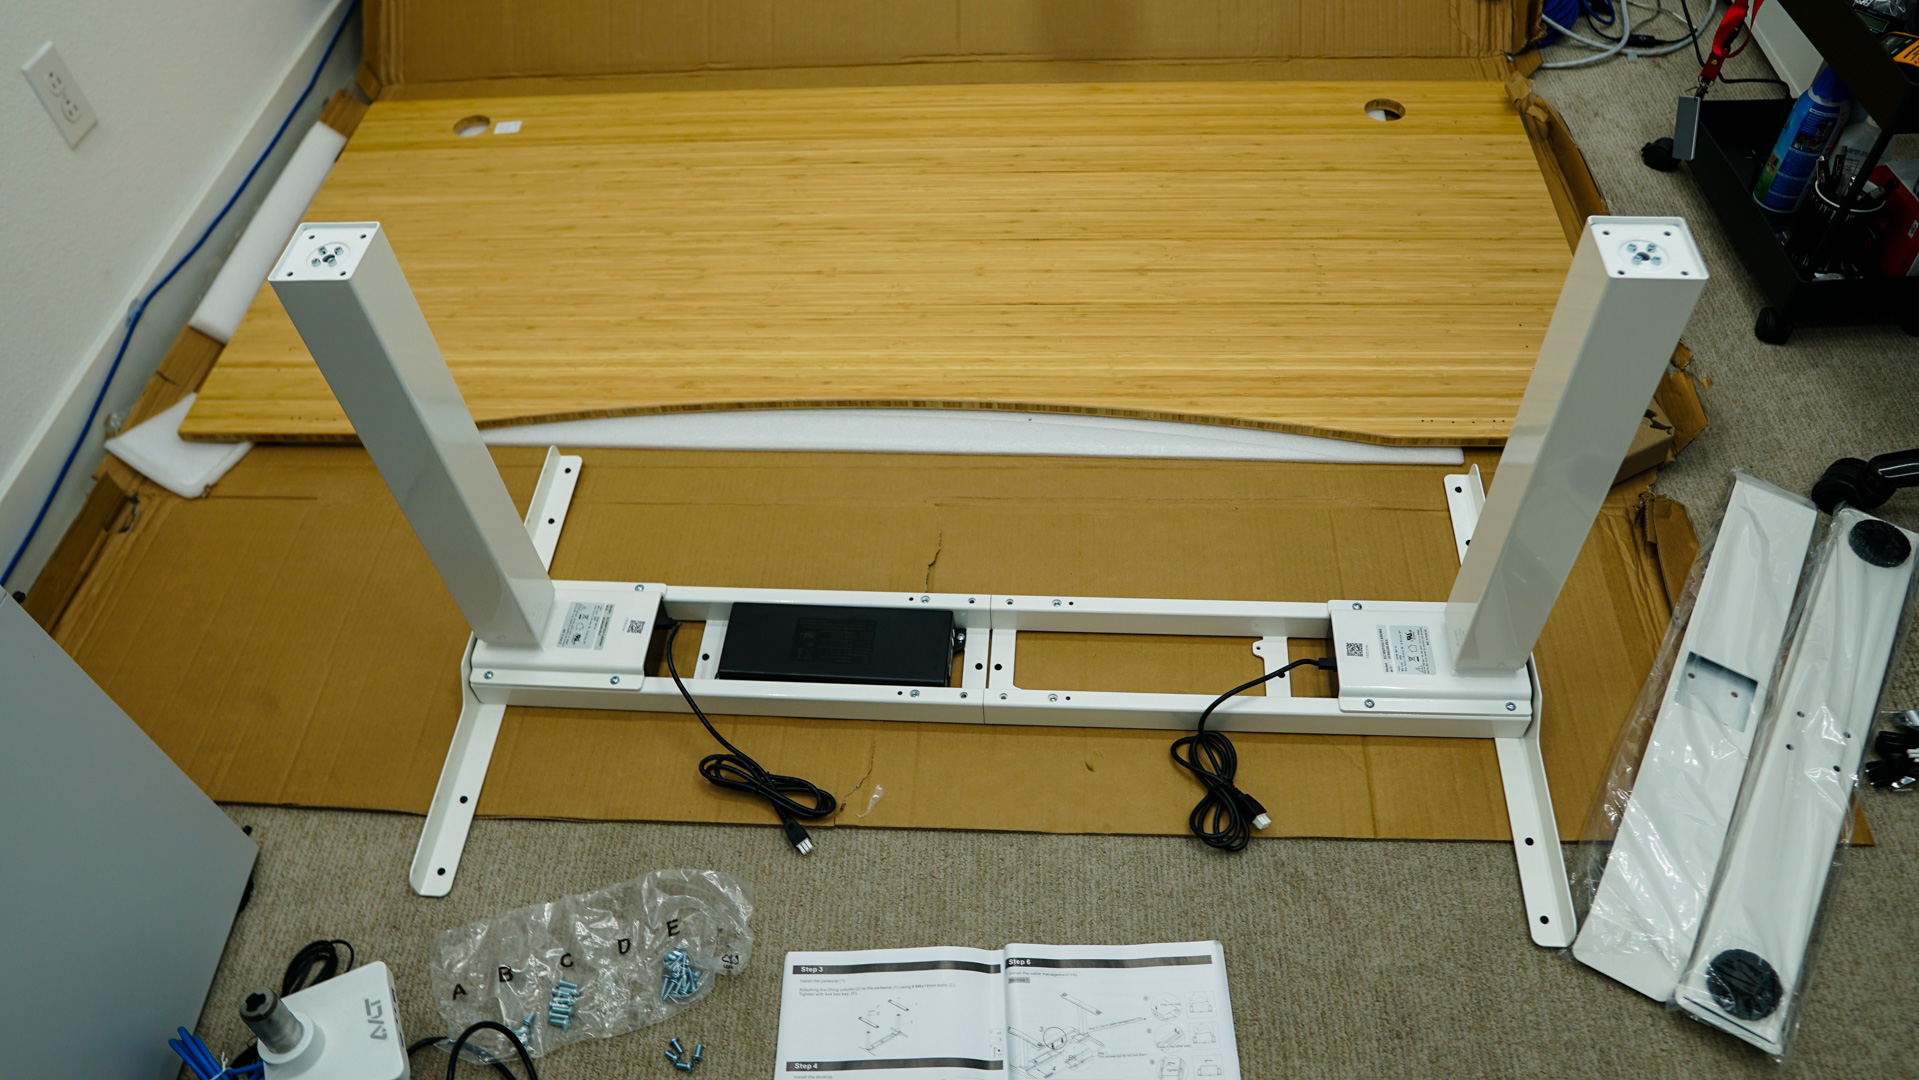

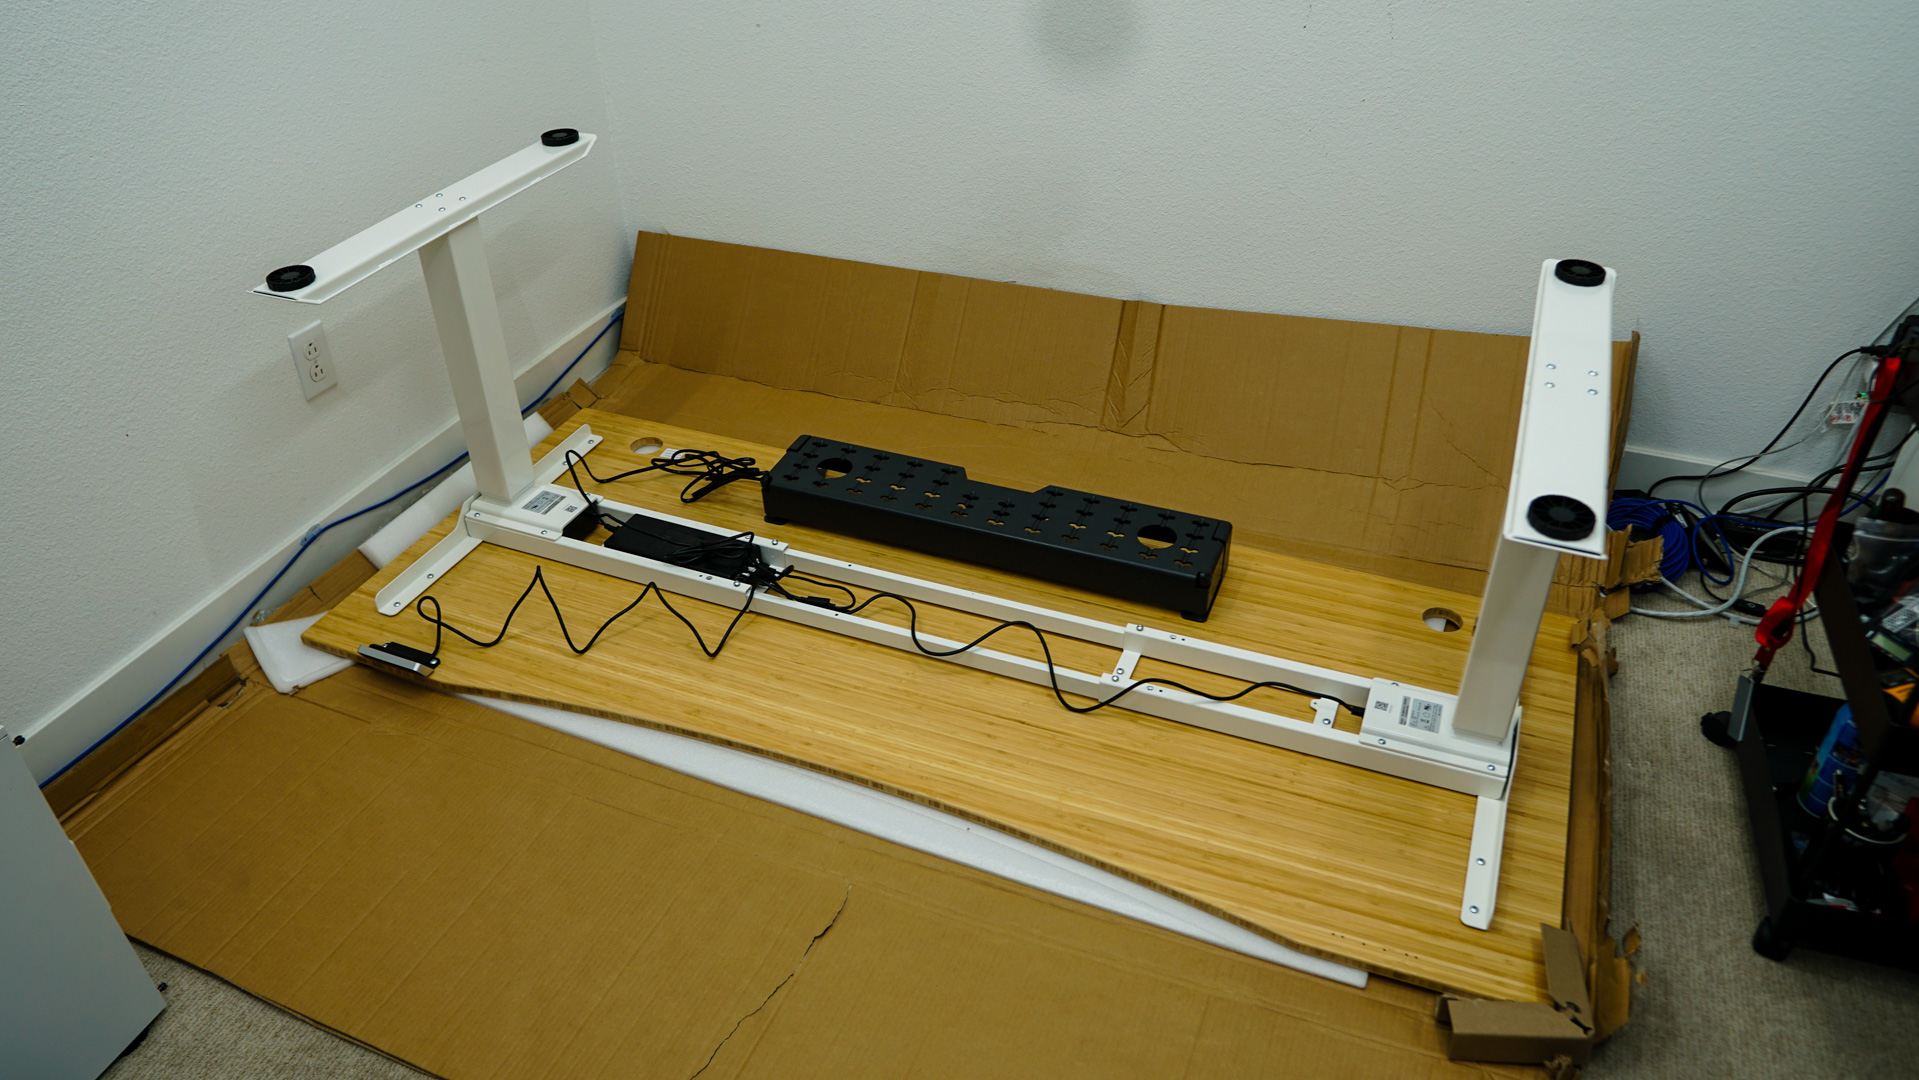
The last thing you are going to want to do is flip your desk over. I would highly suggest enlisting the help of someone for this, although it can be done by yourself. I was able to flip even this large desk over by myself. Just be sure the desk itself it clear out of the way from any walls or obstructions when you are flipping it over. Also be sure to flip it over from the front as that is where the controller is and you don’t want to damage it.